About
“Much of my work is about creating dialogues between the land that inspires me, the people who have and will continue to care for it and those who seek to exploit it. Coloured glazes, incised lines, applied to my porcelain (Devils) marbles and vessels, are my tools to capture the magnificent beauty of remote Australia’s unique environment, the changing hues of the six seasons and to highlight the threats they face.”
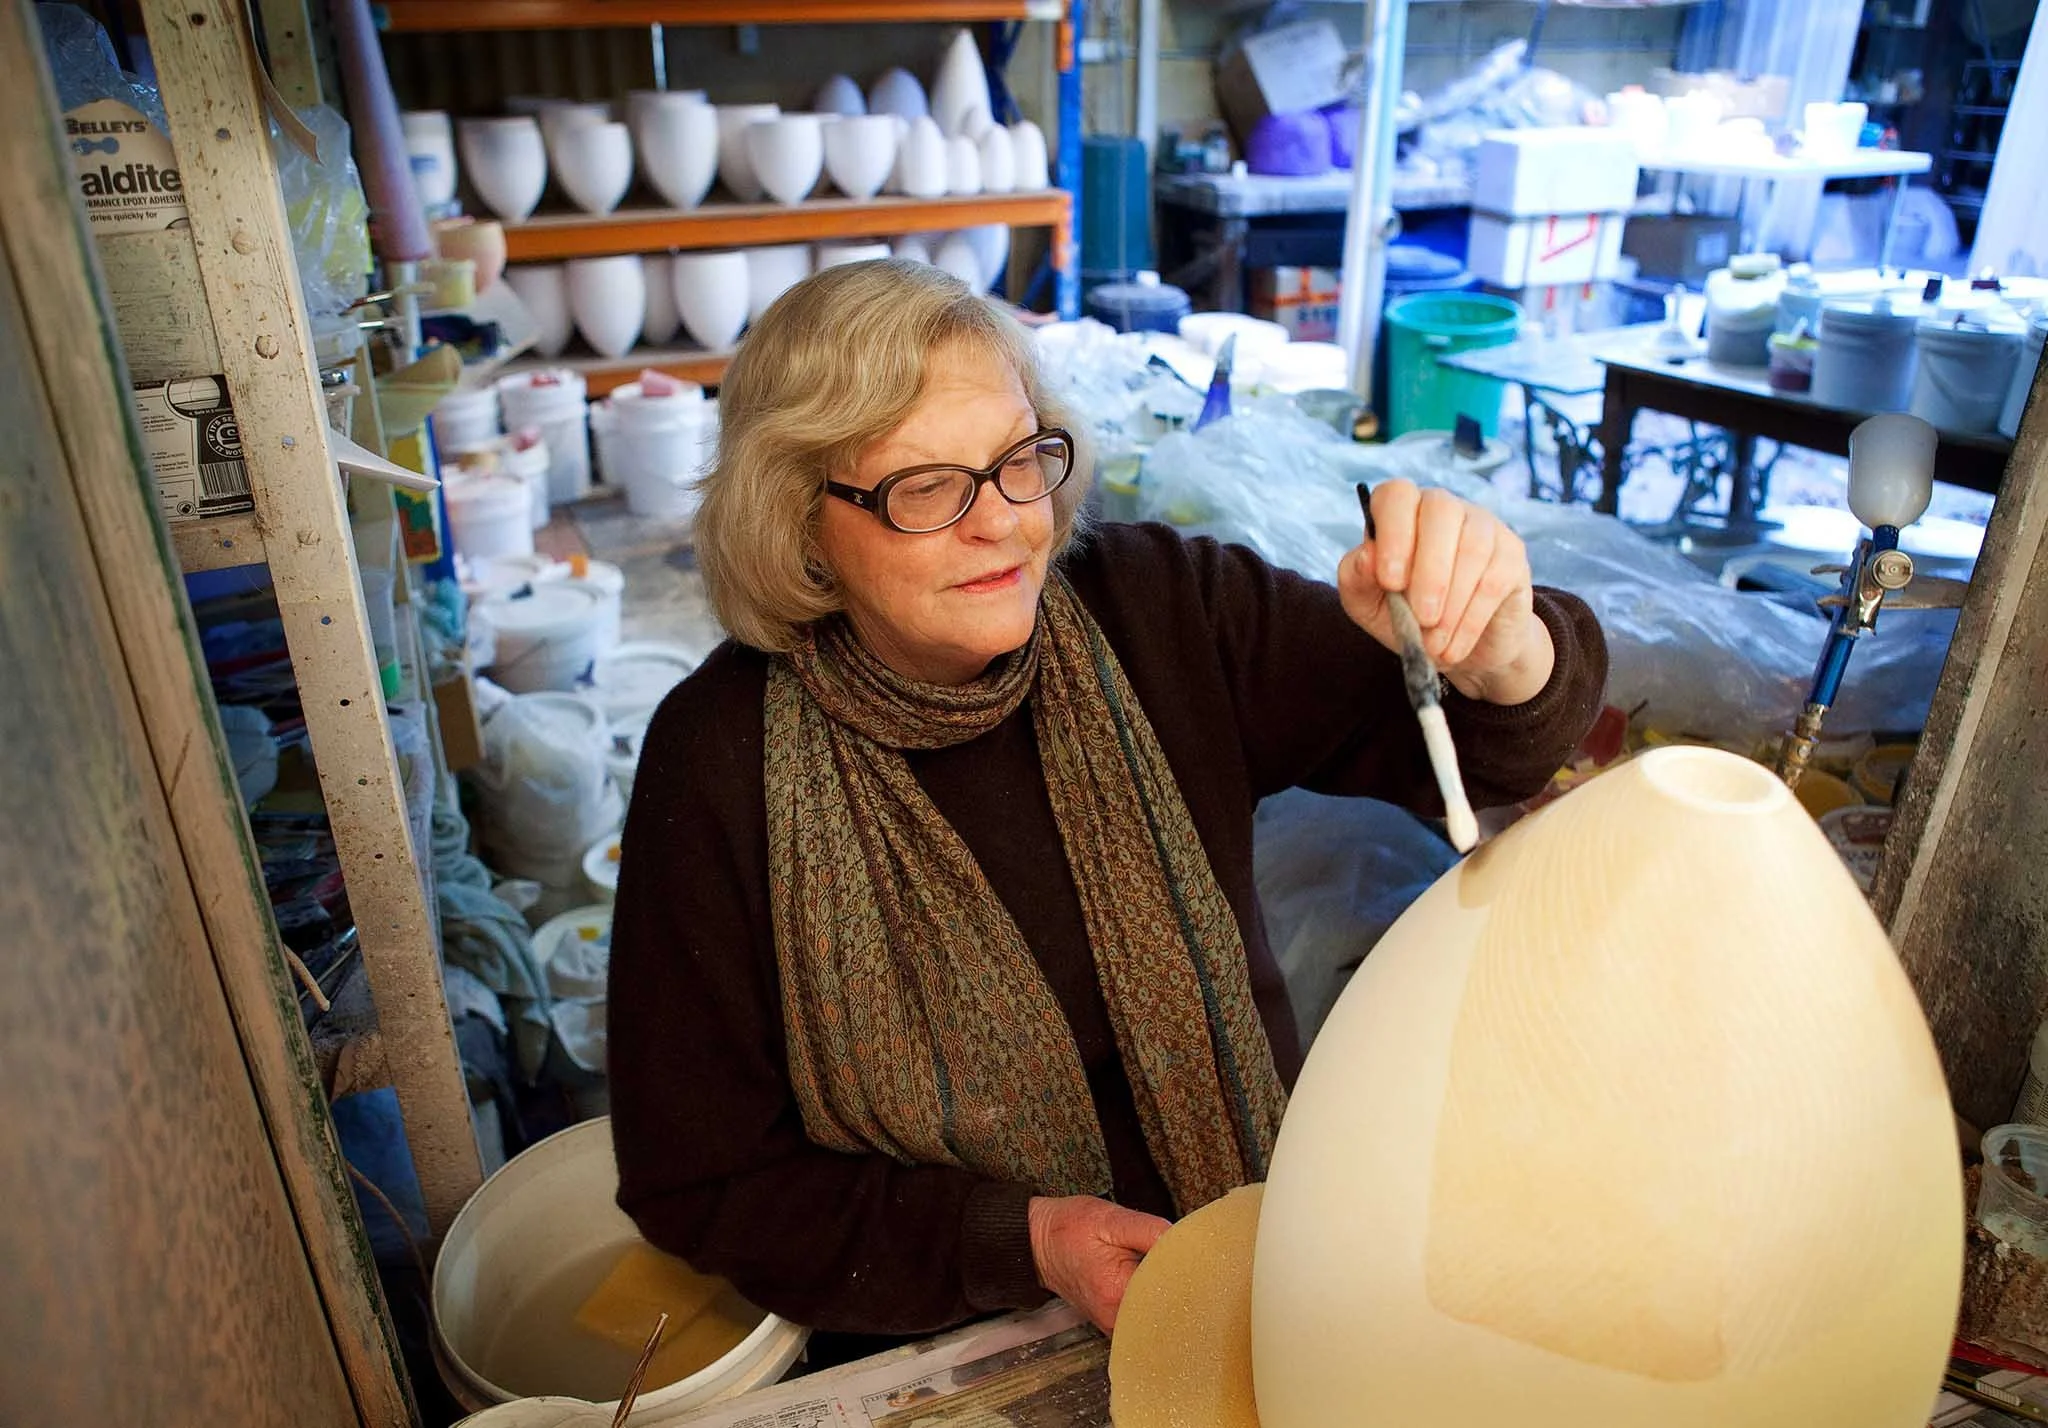
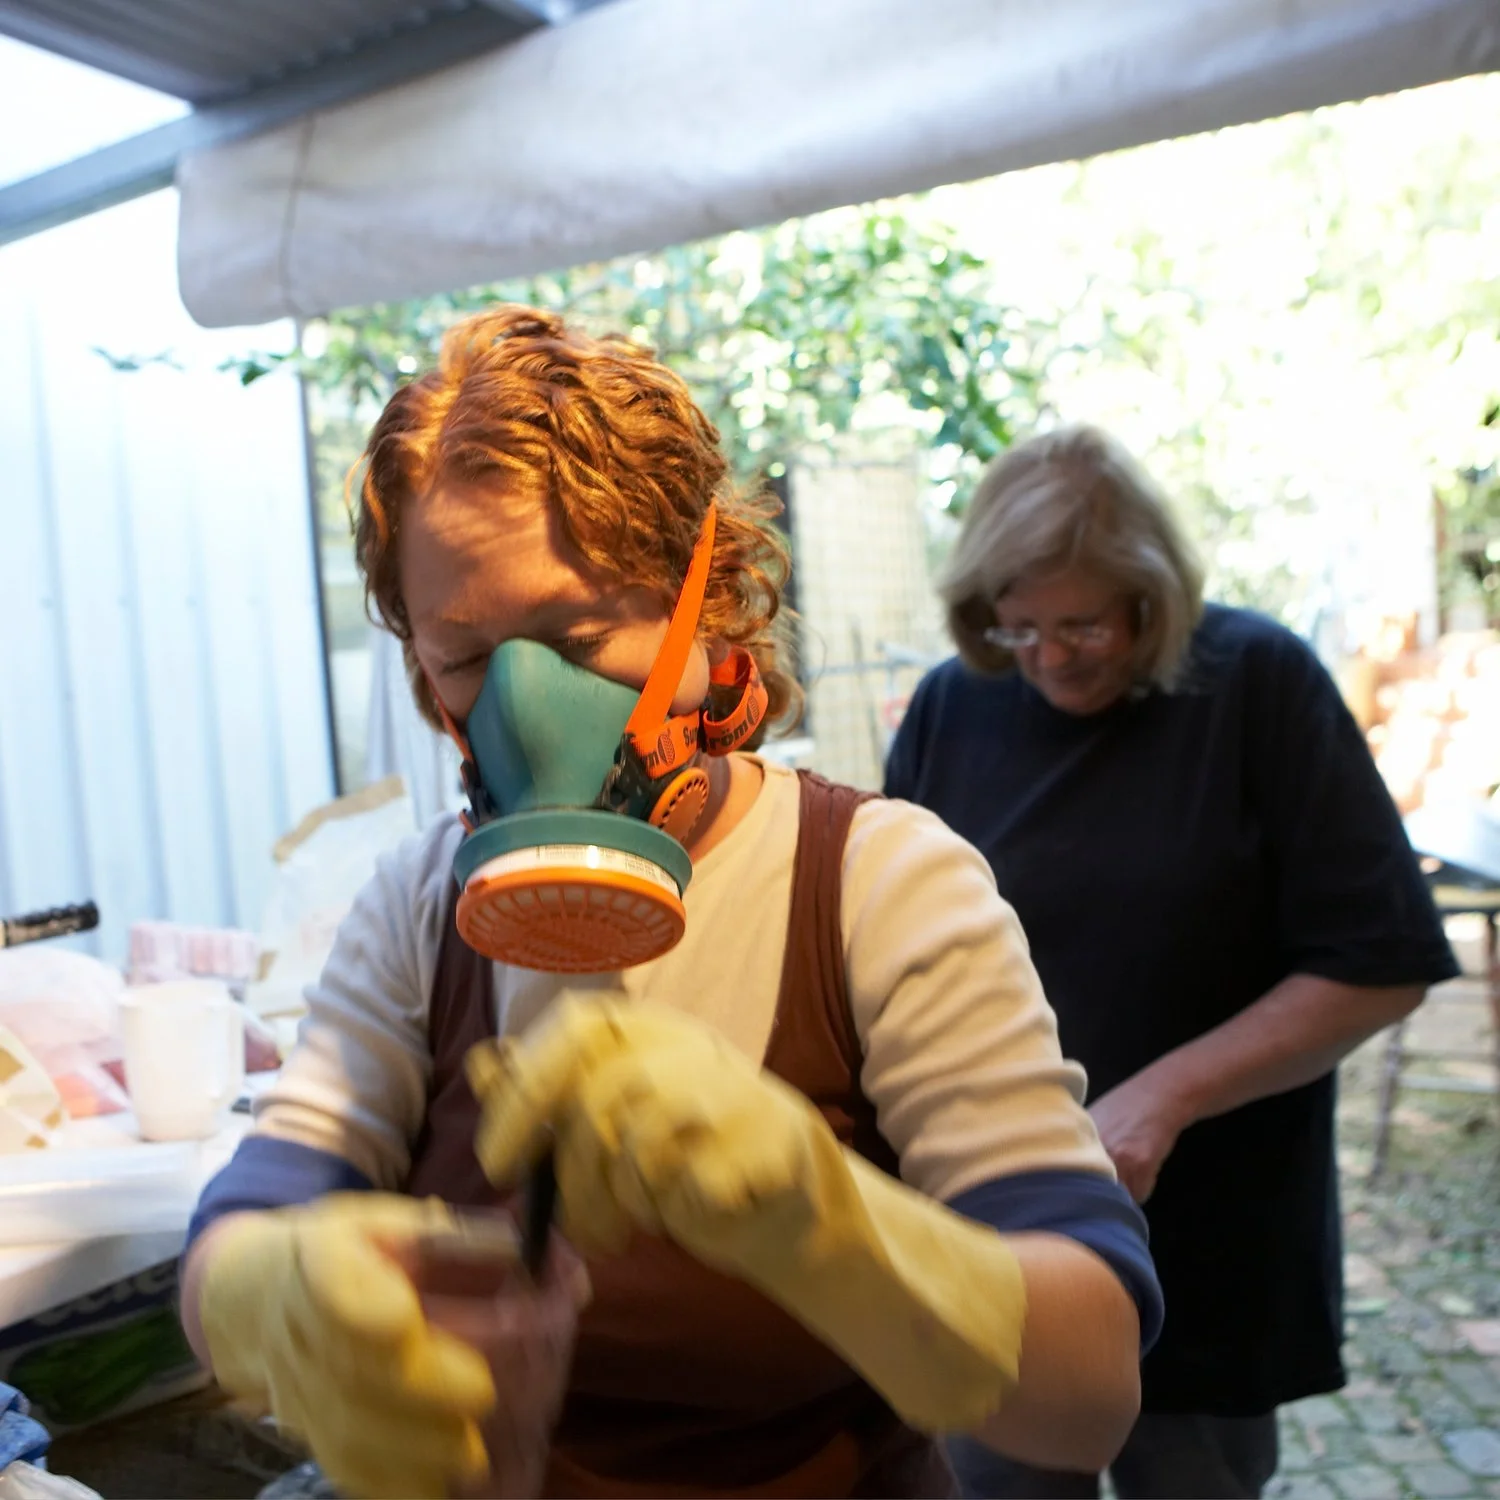
Pippin Drysdale has been a remarkable figure in Australian ceramic art for over four decades, working from her Fremantle studio with a collaborative team, especially Warrick Palmateer. Few Australians have seen their work so extensively exhibited, collected nationally and internationally and held in important public collections and museums around the world.
The Art Gallery of Western Australia (AGWA) presented a major retrospective titled Pippin Drysdale: Infinite Terrain from December 2025 - April 2026, featuring 265 artworks made up of 443 individual porcelain pieces. The accompanying 250 page book is available through AGWA. It includes new essays by Dr Grace Cochrane AO, Alun Graves, Senior Curator of Ceramics and Glass at the Victoria and Albert Museum, and exhibition curator Isobel Wise and a feast of photographs tracing Pippin’s unique journey.
Now in her eighties, Pippin continues to work almost daily in her studio, constantly driven to explore new colour and form combinations, her porcelain ‘canvasses’ that she transforms into portraits of her country.
Drysdale is a WA State Living Treasure, a Master of Australian Craft and was awarded an Honorary Doctorate of the Arts by Curtin University in 2020.
Studio Practice
In the Tanami series, colours and surfaces are produced in a complex, highly crafted process.
First three or four layers of colored glazes and stains are sprayed on the outside surface of the vessel. These have been prepared with certain levels of density, transparency and gravity induced running in mind though the final outcome is always impossible to predict. The inside of the vessel is colored by half filling it with colored glaze and swirling it round until a perfectly graduated coloring is produced. An evenly colored inner void in which form becomes a function of light is essential to the overall presence of the work but this sublimely sensitive density cannot be achieved with spraying alone, which leaves a dry powdery effect.
The groups of clusters of lines in crystalline vitrified glazes moving roughly horizontally round each vessel are made by applying colour into incised lines after the initial spraying of glazes. Using liquidtex painting medium as a resist does this very accurately. It is much more precise than wax or latex and burns away without creating a vile odor or any other environmental problems. It has the disadvantage, however, that it dries and spoils rather quickly. The blades used for this work also wear out after a few minutes work.
Only a small patch of surface can be worked on at a time, which can limit the form of the design. Once the surface is incised, special dry brushes are used to brush out the groves and to clean up the edges of the liquidtex resist so that no ragged fragments or particles affect the glaze. Then thick colored glazes, almost a paste are rubbed into them. A single pot can take several days to prepare and ' paint' in this way.
Sometimes a further transparent glaze is rubbed over the surface. However, only one firing is possible without risk. A Successfully fired pot is so vitreous it rings like a bell. When Pippin developed this technique she worked for several weeks on shards doing all kinds of drawings but it eventually became clear that different forms of 'traces' lines that resonate with the form of the vessel made more sense.


More detailed technical information
I bisque fire to 1010 degrees then sandpaper the surface of porcelain to make sure the surface is smooth, and to pick out any material to eliminate pinholing.
I use two different gravity spray guns to apply the coloured glaze layers, inside and outside the piece.
With the vessel placed upside down on foam on a banding wheel, to protect the fine rim, I then work with Liquitex, a painting medium and paint small areas of this resist over the raw glaze.
Using blades I carefully cut out the lines back into the glaze on top of the resist applied, then clean the channels with a soft dry brush to enable me to fill again with another color then sponge back. This then creates that wondering incising quality back into the glaze.
(Of course when you fire in the kiln it all burns off leaving those wonderful sensitive lines.) I then glaze fire to cone 4/5 depending on the desired effect; matt shiny etc. All works are only fired twice; bisque, and then once glazed.
You can use any base glaze you like of course it must be an off white to white finish then add Alkine Frit 4124 to the glaze to find the right temp. The best way to achieve this is by doing a line blend 10/15/20/25 % to the base glaze which will assist in fluxing the glaze to the temperature you want.
I use one base glaze and then mix stains into the glaze and test - usually 20% or stain per 100 grams of liquid glaze.
I always achieve my colours from glaze stains which I buy from a supplier in Australia but the good ones comes from Germany and they are called inclusion pigments the rich yellows/red oranges etc. I know most of these stains are available in the States and the UK.
When you buy stains look at the colours and if they are rich in colour then purchase those. I make a good base glaze slightly off white and I add Frit 4134 or an Alkaline Frit or they sometimes call it Ferro Frits to the glaze to flux it down to the temperature I need to fire to. I usually fire around Cone Orton 4/5 nodding.
Depending on what result I want, matt/satin or matt/shiny I add the Frit. To make the colours I usually add about 100 grams to 1 litre of liquid glaze, (sieve through 150 mess). This should give a visual strong colour its important to put this through a 150 mess sieve for good results so the colour and glaze are well mixed.
The other tip is once you have made something and bisque then using fine sandpaper (not coarse) to prepare the work before glazing and finally use a clean fine sponge to wipe over you piece before glazing whether you are dipping or spraying. Remember I constantly mix stains together to develop different hues.